Did your home incur significant water damage in Ottawa? If so, it’s crucial to act fast – as wet surfaces and materials start to form mold and other severe issues after only 24 hours.
As such, you’ll want to assess your damages and begin repairs as soon as possible.
If the damage is severe and beyond your scope, don’t hesitate to call our highly trained and experienced team at 613-727-9427, and we’ll hop on your repairs immediately.
If the damage is minimal, you may want to know if you can handle the repairs yourself.
In that case, you’ve come to the right place – as we’ve prepared an extensive guide to repair water damage in Ottawa.
Even if you haven’t experienced water damage in your home, it’s still beneficial to know how to deal with it properly should it occur.
There’s quite a bit to know about water damage, and making the wrong move could spell disaster. Conversely, making the right decisions early on will go a long way toward restoring your home to its original state at a reasonable cost.
Read on to learn the best practices involved with proper water damage repair. Along the way, we’ll cover:
- The three different types of water damage
- Mold inspection tips
- How to dry everything out
- What to throw away and what’s safe to keep
- Restoring and replacing drywall and siding
- Painting and caulking
- Knowing when to hire professionals
Without further ado, here’s everything you need to know about repairing water damage in Ottawa.
Is it Clean, Gray, or Black Water? The Three Types of Water Damage
First things first, you need to determine which type of water has contaminated your home.
If that sentence makes you scratch your head, you should know that not all water damage is the same. In particular, there are three types of water damage, each with varying degrees of severity.
We didn’t just make this up, either. These are official rankings from the Institute of Inspection, Cleaning, and Restoration Certification (IICRC). They are:
- Clean water
- Gray water
- Black water
Each has unique requirements for how you approach repairs, so let’s take a closer look at them.
Dealing with Clean Water Damage
The first and most accessible type of water damage to repair is from clean water – which is the least severe of the three, according to the IICRC.
While it may seem nonsensical to refer to water flooding your home as ‘clean,’ it’s more about it being free of raw sewage and toxins, which will wreak even more havoc on your home and belongings.
Clean water comes from:
- Busted pipes
- Sinks
- Water supply lines
- Rain
As you can see, these are all ‘clean’ sources of water that don’t contain excessive toxins or raw sewage. As such, this type of water is the easiest to dry up and repair without causing too much lasting damage.
If you have clean water damage in Ottawa, you should be able to repair it by yourself relatively quickly.
Of course, it will also depend on how much clean water damage your home has incurred. Repairs should be straightforward and pain-free if there’s only an inch or two of water on the ground.
Dealing with Gray Water Damage
Next on the IICRC severity scale is gray water – which is water that is slightly dirty or soiled – but not excessively.
Gray water has more contaminants than clean water but still lacks raw sewage and severe contaminants.
Gray water comes from:
- Toilets
- Washing machines
- Sump pump backups
- Dishwashers
The waste and chemicals in gray water may or may not be directly harmful to humans, but it’s crucial to thoroughly disinfect your home to ensure the contaminants don’t cause problems down the line.
You may also need to wear safety gear while repairing gray water damage to protect yourself from hazardous toxins (especially if the gray water came from a sump pump backup).
At this point, you can still opt to handle the repairs yourself, but we recommend that you leave it to professionals like our team at RenosGroup. That’s because we’re well versed in cleaning/removing contaminated materials from bathrooms, kitchens, and basements to ensure that we restore your home to its original glory.
Dealing with Black Water Damage
Black water is the most severe on the IICRC scale, and for a good reason. Black water contains raw sewage and hazardous toxins that are extremely dangerous.
You should by NO MEANS attempt to repair black water damage in Ottawa by yourself.
That’s because black water can cause severe health complications if you aren’t wearing the proper safety gear/taking the necessary precautions.
The last thing you want is to have to contend with a life-threatening illness while your home is flooded, which is why you should ALWAYS call us at RenosGroup to repair black water damage.
How do you know if your home is contaminated with black water?
Here’s where black water comes from:
- Sewers
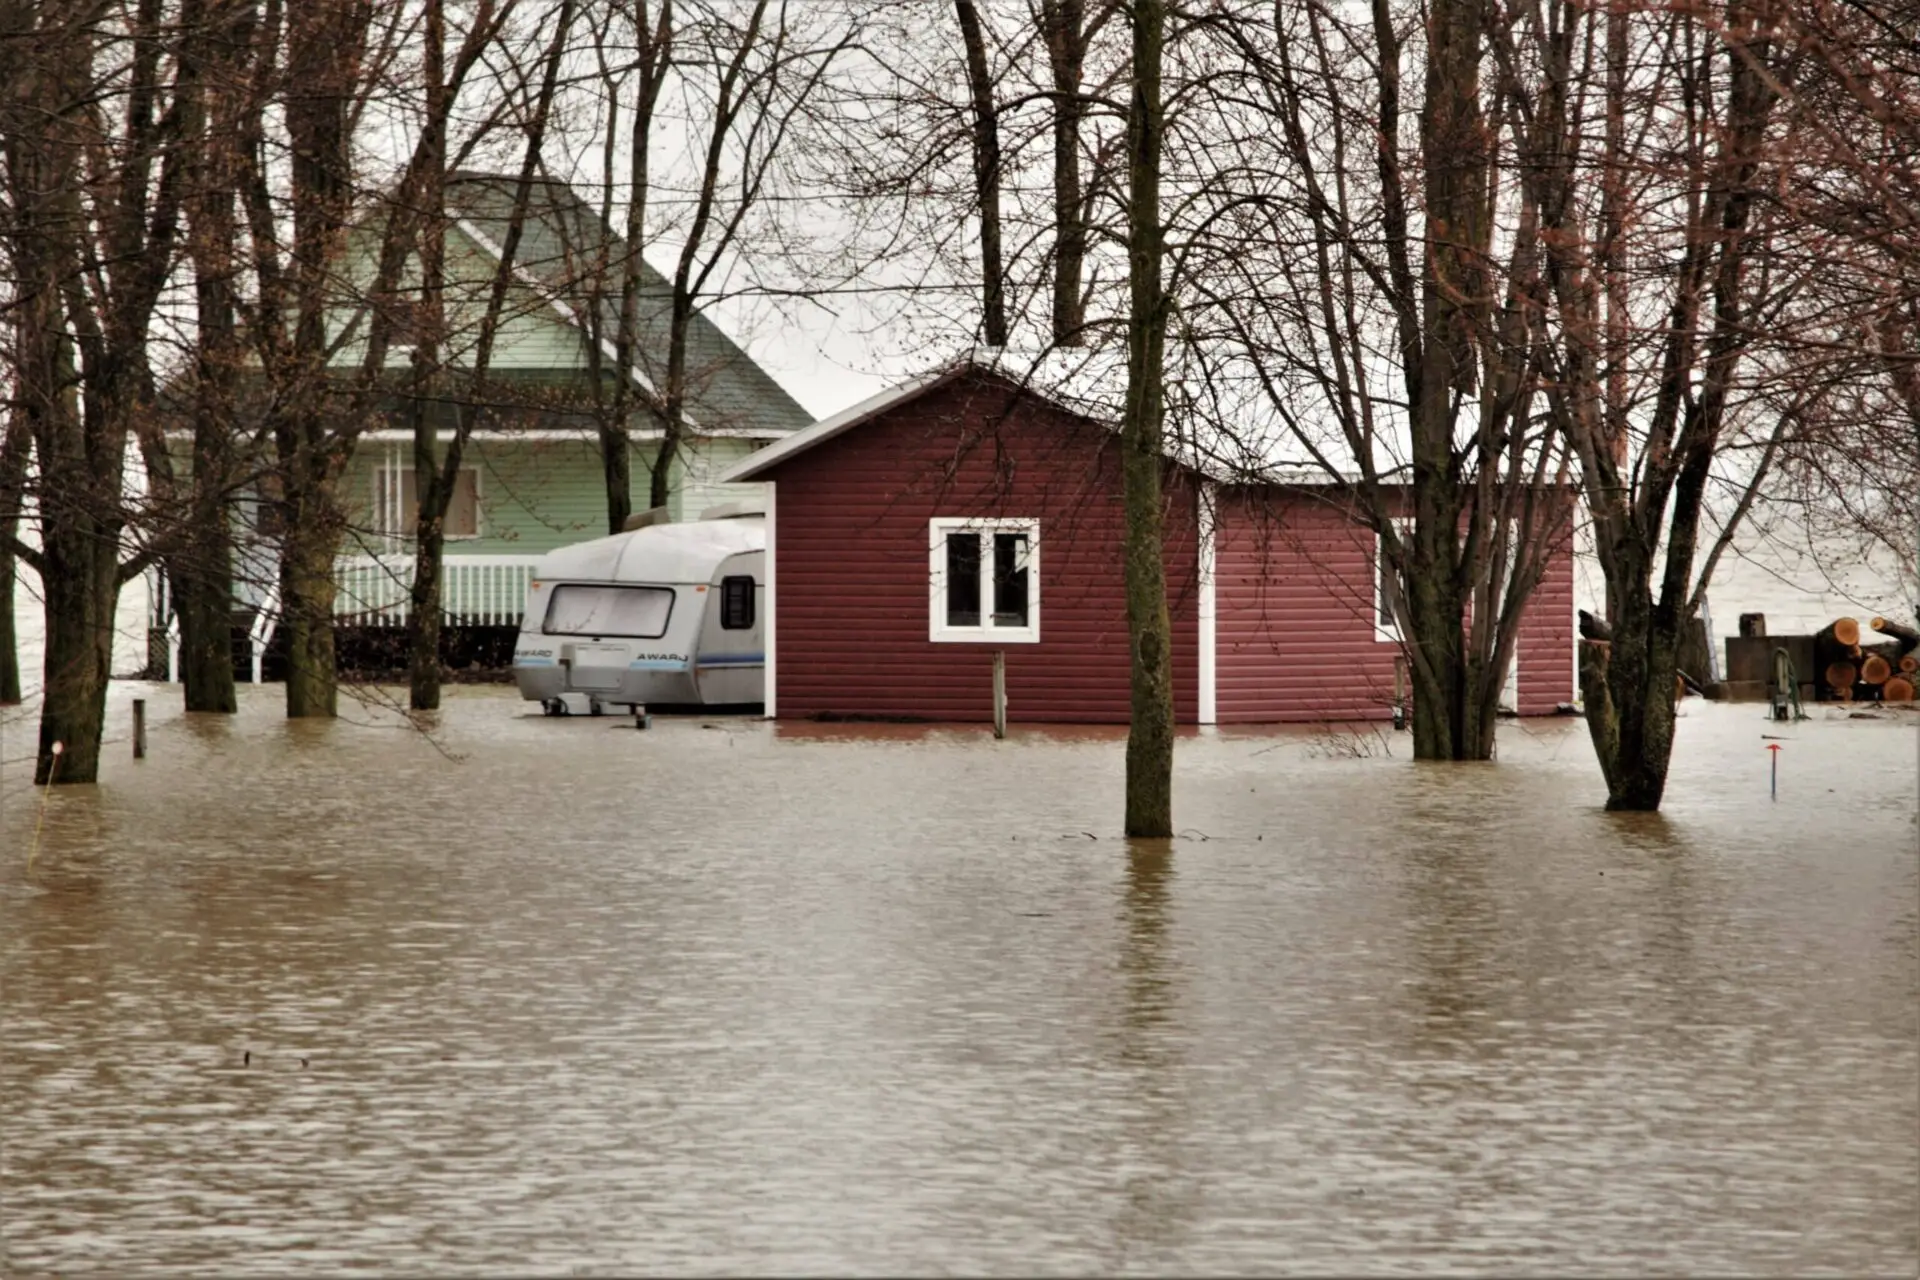
- Rising flood waters
- Seawater
- River water
If your home gets flooded by a sewer overflow or rising river waters, you need to contact professionals for cleanup as soon as possible. Black water contains bacteria, human waste, and other serious contaminants – so your home will need to undergo extensive disinfecting before returning to normal.
Your Repair Guide for Water Damage in Ottawa
Now that you know about the three types of water damage, it’s time to learn how to repair damage from clean water and gray water.
If you suspect the gray water has bacteria or contaminants in it, you should contact professionals for repairs. Yet, if it’s simply some water from a busted toilet, you should be able to handle it by yourself.
Like anything else, there’s a right and wrong way to go about repairing water damage, which is why we’ve prepared this guide containing a step-by-step process for getting rid of water damage in Ottawa.
Step #1: Inspect for Serious Issues
Your first step should be to assess the damage as thoroughly as possible. In particular, you need to keep your eyes open for severe issues like mold and mildew.
What’s the difference?
In a nutshell, mildew forms on surfaces, and mold grows inside walls and dark places. So if you see a gray, white, or light brown growth around your home, it’s likely mildew. If there’s a growth inside your pipes or walls, it’s mold.
Remember, mold and mildew can begin forming within 24 hours of incurring water damage. You need to assess the damage as soon as possible to stop them in their tracks.
What do you do if you find mold or mildew?
Both are toxic and can be pretty dangerous to humans. If you notice severe mold/mildew in your home, your best bet is usually to call us to dispose of it safely and securely. You should also vacate the house and shut down the airflow (to avoid further contamination).
For minor occurrences of mold/mildew, cut out the material it’s growing on, bag it, and dispose of it immediately.
Step #2: Dry Everything Out
Once you’ve completed a full assessment of the damage, it’s time to dry up all the moisture lingering in your home so you can return to normal.
If you’re dealing with a small leak, you should be able to dry everything out by using heavy-duty fans. Not only will they expedite the drying process, but they’ll circulate the air in the affected area, which can help prevent foul odors.
Your goal here should be to suck up every ounce of moisture left in the affected area.
If your flooding is more on the severe side, you’ll need to rent a high-capacity dehumidifier to dry your carpet, wood, ceiling, and belongings.
If you don’t feel like bothering with all that hassle, you can hire professionals like us to dry out your home. We have access to premium quality fans and dehumidifiers we can use to ensure we dry out every inch of your home.
Step #3: Dispose of all Porous Materials
Next, you’ll need to remove anything porous that got wet during the flooding.
What are porous materials?
They contain tiny holes (like pores in your skin) that absorb moisture, dirt, and bacteria. Wet porous material can grow dangerous mold or mildew if left unchecked.
This may be a difficult step, as you likely won’t want to part ways with your carpet or specific pieces of furniture.
Yet, it’s a necessary step, as water often permanently damages porous materials. For example, when wooden furniture gets wet (which is porous), it can permanently warp the wood – ruining it forever.
That’s why it’s best to cut out wet porous materials and replace them. That includes carpet, fabric, insulation, wood furniture, and concrete. If you aren’t sure if something is porous or not, a quick Google search will let you know. It’s crucial to be vigilant here, as the last thing you want is to hold onto something porous that will grow harmful mold down the line.
Step #4: Disinfect Everything You Keep
Even the nonporous things you keep will need to go through disinfection to ensure they’re safe for your home.
Water damage in Ottawa will affect everything it touches, which is why you must leave no stone unturned when repairing it.
Why is disinfecting a necessary step?
It is because you never know when a few mold spores are left lingering on the floor or in a piece of furniture. All it takes is a few spores to start forming harmful mold that will be expensive to remove.
That’s why you’ll want to disinfect everything with bleach (or a homemade solution) to completely wipe out all the bacteria, dirt, and mold spores.
For clean water damage, lightly spraying the floor with a disinfecting agent and wiping it dry is all you’ll need to do. For gray water damage in Ottawa, you’ll need to go to more drastic measures when disinfecting the area. If you have black water damage, you should call us instead to avoid exposing yourself to harmful contaminants.
Step #5: Repair Ceiling Panels First
If your ceiling got wet from the water damage, it should be the first spot that you repair. That’s because ceilings are the most susceptible to sustaining structural damage due to gravity.
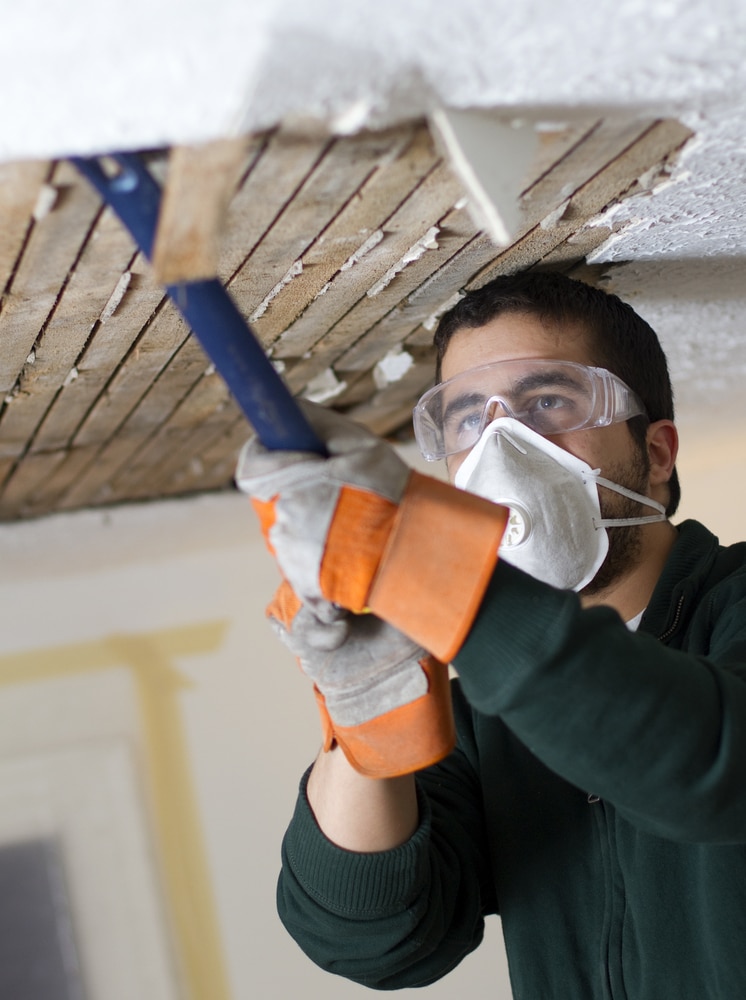
Start by removing all ceiling panels that were affected by the leak. It would help if you also did some work to ascertain whether the leak originated from the roof or not.
Important note: The leak from your roof may originate in a spot that’s far away from the actual water stain – so be thorough in your search.
You should also check your beams and rafters to see if they got wet or incurred any damage from the leak.
For any ceiling panel that got wet, throw it out and replace it with a new one. If your beams and rafters show signs of damage, you should contact us to repair them professionally.
Step #6: Replace All Warped/Rotting Wood
There’s no saving warped or rotted wood – so you’ll need to get rid of it all. Warped wood is not only ruined forever but can also form harmful mold inside, which can be detrimental to your health.
Do your best to pry each wood panel apart so you can clean underneath it before replacing it.
That’s because some excess moisture below the wood may cause problems down the line if you don’t clean it up now.
If the wood in question plays an essential structural role in your home, you must be extra careful when pulling it out and replacing it. Your home’s structure relies on a precise balance of support, and you may disrupt that when ripping out structural wood. If you don’t want to be on the hook for expensive structural damage, leave the work to professionals like us.
Step #7: Install New Flooring
Water is particularly harsh on floors, as it can cause carpets to grow harmful mold and bacteria, and the moisture will swell and warp wooden floorboards.
As such, the chances are high that you’ll need to replace your floors – or at least check underneath them to ensure the underlayment and padding don’t have any water damage (both can absorb moisture which will cause issues).
The bright side is that this allows you to install waterproof flooring, which will protect you from water damage in the future.
Popular waterproof flooring options include:
- Ceramic tile
- Porcelain tile
- Vinyl planks
- Sheet vinyl
- Certain types of engineered wood
- Polished concrete
These are all adequate flooring options that are highly water-resistant, which will protect you should another leak/flood occur. To further protect your floors from water damage in Ottawa, you could opt for a protective sealant coating to waterproof the surface.
Step #8: Replace Drywall and Siding
If any walls were affected by the water damage, you’ll need to either repair or replace the drywall.
How do you know when a sheet of drywall is too far gone?
The rule of thumb is that if more than 3/8ths of an inch has swelled or sagged due to moisture – you should replace the entire sheet. Make sure to cut out the entire affected area and dry it out before installing fresh drywall.
You can generally salvage the sheet if less than 3/8ths is affected.
It would be best to inspect your external siding for water damage. If any water seeps behind your siding, it can cause permanent damage to the sensitive materials inside.
If your siding has water damage, you’ll want to remove it as soon as possible to prevent rot from setting in underneath. Besides siding, moisture can also penetrate any faux stone surface, so it’s crucial to be as thorough as possible when inspecting the outside of your home for water damage in Ottawa.
Step #9: Apply Fresh Paint and Caulk
The final step is to either touch up or apply a fresh coat of paint to all the affected areas. That includes floors, walls, ceilings, and external siding.
If the damage was minimal, you could get away with touching things up. If it was more extensive, you’re better off with a fresh coat.
Once the painting is done, caulk all the materials (toilets, tile, etc.) to seal them and protect them from future water damage.
Final Thoughts: Repairing Water Damage in Ottawa
Nobody wants to contend with water damage, but you never know when it will rear its ugly head. Luckily, this guide has your back should a leak or flood occur in your home.
Remember to identify which type of water damage you have as the first step because if you’re dealing with black water – you need to call us at RenosGroup instead of attempting to repair the damage yourself.
Our trained team of professionals has the know-how and top-tier equipment to make quick work of your water damage, no matter how severe it is. If you need water damage repair services or are renovating your home in Ottawa, don’t wait to reach out to us for a free in-home consultation at 613-727-9427.

