Whether crafting a basement suite for guests or to host in-laws, achieving the ideal basement renovations for Ottawa families demands a thoughtful plan. Ensure comfort and functionality as you transform the space to meet your unique needs. For guest suite basements, sometimes a good place to start is to look at hotel suites or even retirement home layouts, as they share some distinct similarities, such as:
A Living Space
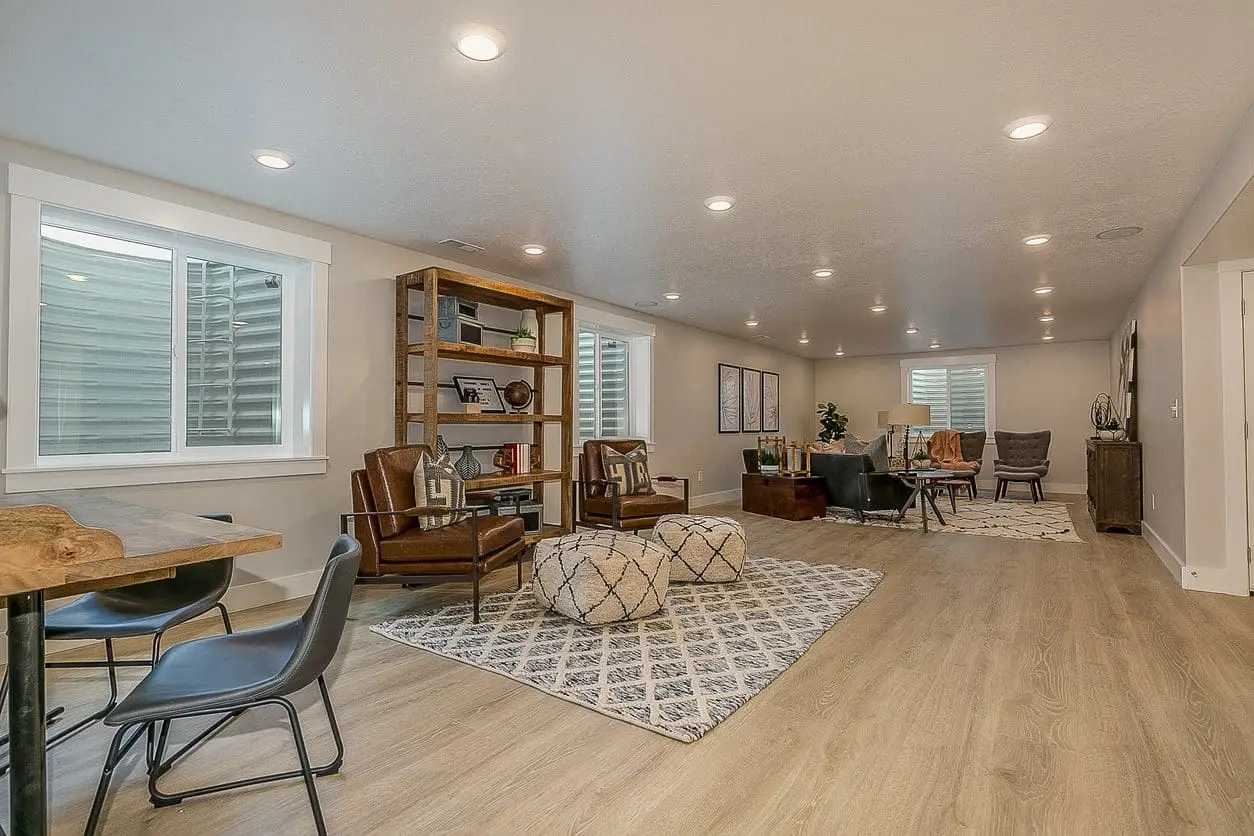
The majority of the basement should be open for a comfortable living space. It’s essential to consider the needs of your guests occupying the suite. That will help create a living space that they enjoy and appreciate.
If you’re creating an in-law suite in Ottawa, what do they usually like to do? If they’re into movies, including a TV and a sofa is a good idea. If they prefer reading instead, some recliners with ample lighting are the way to go.
Conversely, if you’re designing a granny suite – mobility and accessibility are concerns. You’ll want to make sure the living space contains no trip hazards or items too far out of reach.
You’ll also want to consider building code requirements, ceiling heights, insulation, and more. These will all play a part in your renovations, so it’s crucial not to ignore them. (More on regulations and insulation in a bit.)
From there, you can then determine if a kitchen is realistic.
Kitchen/Kitchenette
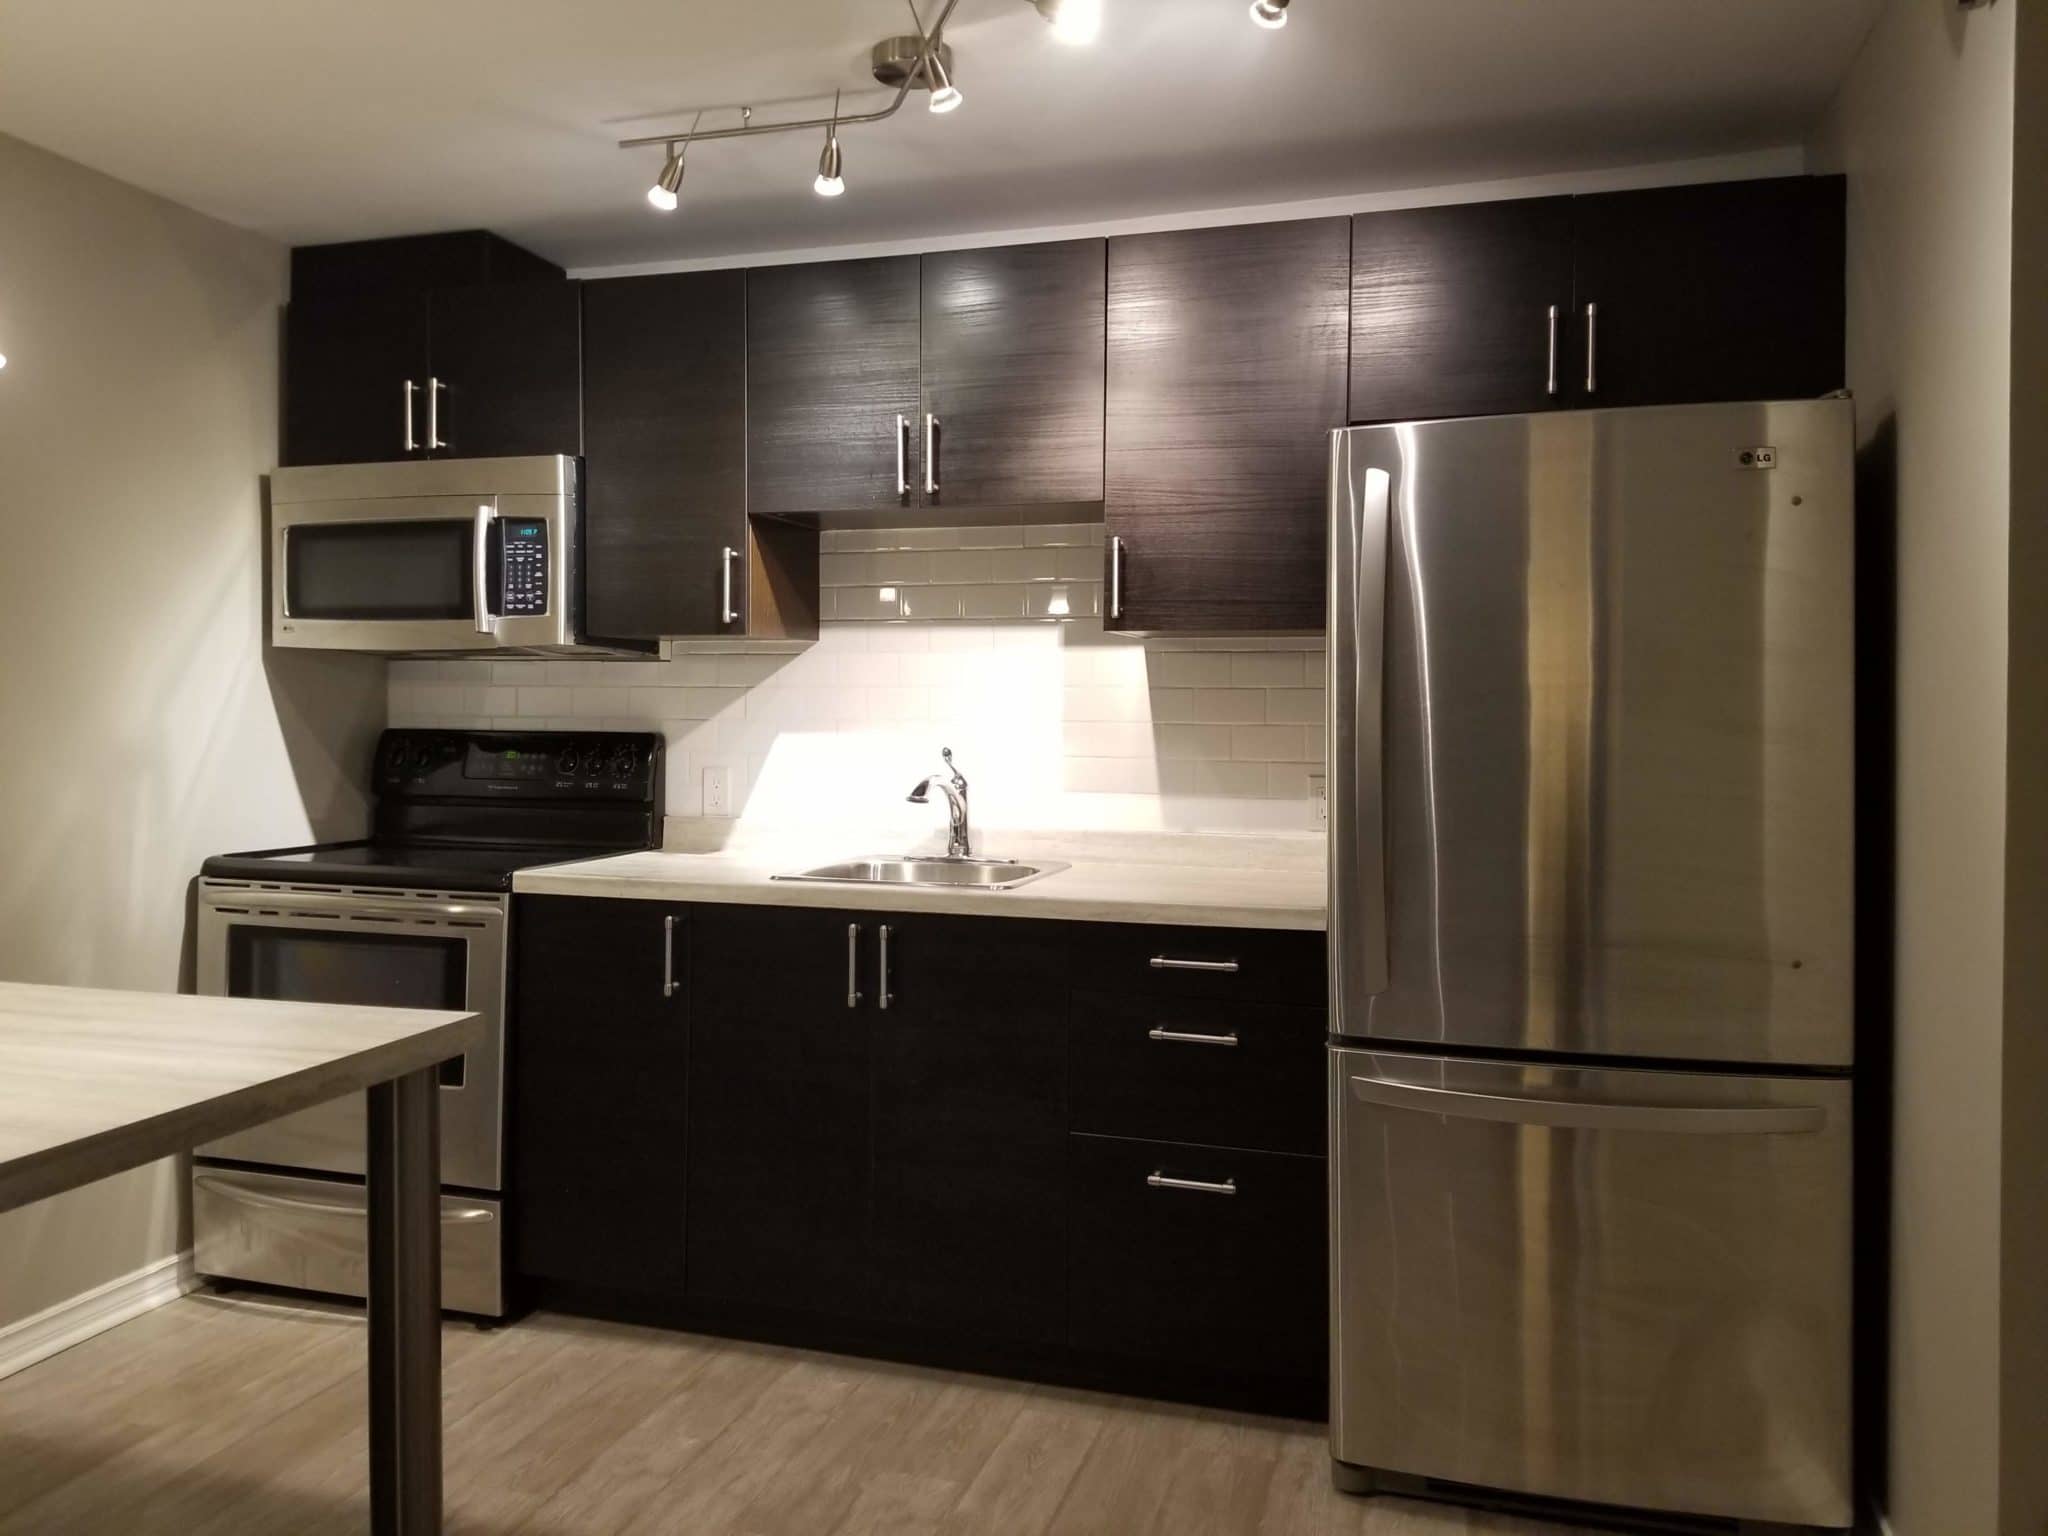
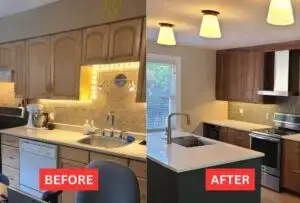
If the space allows, a kitchen is ideal as it will give guests or in-laws complete independence. If you’re limited on space, you may be able to squeeze in a kitchenette. A refrigerator and microwave are all you need for your suite most of the time. After all, that’s what most hotel suites include as a kitchenette.
If you have more space, you can go for a full kitchen. That means an oven, stove, counter space, and possibly more.
If your in-laws/parents enjoy cooking, they’ll appreciate having a kitchen to use. That way, they can prepare their own meals if they prefer not to bother you upstairs.
Common appliances for kitchenettes include:
- Mini-fridge
- Coffee maker
- Teapot
- Hot plate
- Microwave
- Sink
- Toaster
Larger appliances such as an oven will require a special outlet, so bear that in mind. Ultimately, it will all depend on the amount of space you can dedicate to a cooking area.
If you want to add extra storage space to the kitchenette, think vertically. If you don’t have room for an island or counter – you can add shelving above (or below) the kitchenette. If you have elderly parents, it’s a better idea to include the shelving beneath rather than above.
Built-ins
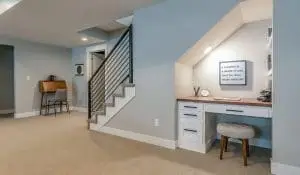
Built-ins are a great idea as they can take the place of furniture that might be cumbersome and use up much-needed floor space. You can use built-ins in a buffet style with a sink and built-in microwave and bar fridge if there is no space for a kitchen.
A fold-down dining table can also be added for eating as well as recreation. You can also use built-ins around a fireplace or desk space providing shelves for needed storage. Built-ins can be used to hold decorative items or to store collections of movies.
When renovating your basement, you’ll have plenty of opportunities to add built-ins. Try to keep a keen eye open when analyzing your basement space. Could you add a built-in dining table that folds down from the wall?
Or would it be better to add a built-in bookshelf for all your in-laws’ books?
You can create built-in benches that attach to the walls to add more seating. That can add extra seating for a dining room table or just for general lounging/reading.
The catch of a built-in is that you’ll be stuck with it for life. As such, you need to put plenty of time and thought into what you want from a built-in. The last thing you want is to get stuck with a built-in that has no function and is an eye-sore.
Sleeping Area
If space for a door swing is not practical, you can consider a number of options for privacy in the sleeping area. Pocket or sliding doors offer privacy and take up less space.
You can also consider using partition walls for separation. If the light is sparse and the bedroom area is near one of the only windows consider using frosted glass partitions so you do not block out the needed natural light.
Whether it’s an in-law suite or granny suite in Ottawa, they’ll need a place to sleep. It’s wise to consult with them beforehand to learn what they prefer bed-wise. Do they sleep best on memory foam-style mattresses? Or can they not sleep a wink unless they’re in total darkness on a water bed?
Once you know their needs, you can begin constructing the sleeping area.
The good thing about a basement is that it stays nice and dark. Yet, that might not be very comforting for some. The lighting plays a big part in the construction of any sleeping area. If your in-laws don’t like total darkness, night lights or lights with dimmers are what you need.
If you don’t want to use an open floor plan – you’ll need to find a way to separate the sleeping area from the living space. Besides partition walls, rugs are a reliable way to separate each area visually.
Bathroom
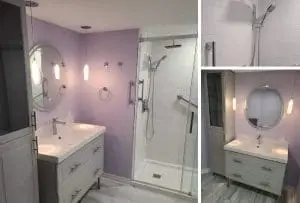
Especially in the case of an in-law suite you want to consider the mobility of your parents. This will play an important role in the type of shower or tub you choose. A good compromise is to add a shower stall with a bench and handheld showerhead so it is easy to bathe, but can also then be used by other family members or guests should your in-laws move.
Every in-law suite in Ottawa needs a bathroom. That’s doubly true if you’re designing a granny suite. Elderly parents often have mobility issues that you need to take into account.
If they have trouble reaching things in the bathroom, you can lower all the fixtures.
Other modifications, such as adding handicap rails in the bathroom, are a good idea.
If your elderly parents are fragile, you’ll want to make the entire suite as fall-proof as possible. You can add non-slip flooring and cushion sharp edges around the suite.
Another consideration is if you want to include a shower or tub in your granny suite in Ottawa. If so, you’ll need to determine which type you need. If your in-laws don’t have any accessibility limitations – you can go with a regular shower or tub. If that’s too much of an expense, you can have them use the shower/tub upstairs.
Soundproofing Insulation Between Floors
If your in-laws are in the basement cranking their entertainment system to 11, you probably don’t want to hear it. The reverse is also true if your in-laws are trying to sleep and you’re square dancing upstairs.
Sound has a pesky habit of migrating between floors, which can be a pain for everyone.
Luckily, there is a solution to this problem. Installing soundproof insulation between floors will significantly reduce sound migration.
With proper insulation, your in-laws won’t hear your steps, and you won’t hear their sound system.
To block the sound, you’ll need to separate the surfaces. That’s because continuous materials act as an acoustic bridge. In other words, if the same material is on the top and the bottom, it carries sound.
That’s why you need to separate each floor with different materials.
The most common solution is to use a dense material in the joist spaces between the floors. Popular options include Rockwool insulation and fiberglass. To install it, you’ll need to remove your existing ceiling drywall.
From there, place the insulation in the open joist spaces. You’ll have to contend with electrical wires and other obstacles, so be careful. After the installation is complete, you’ll need to add new ceiling drywall. The process can be a bit cumbersome, but the results are well worth it.
Soundproofing Material Options
Besides structurally separating each floor, you can also use acoustic foam or polyethylene foam. These won’t achieve as effective results as separation, but they’re better than nothing. A quality acoustical underlayment, for example, will deaden most sound vibrations.
Other options include plywood underlayments and cement boards. If you’re on a tight budget, you’ll appreciate the affordability of plywood.
The downside is that plywood is only a semi-effective sound blocker. On the other hand, a cement board is a bit more pricey, but blocks sound better than plywood. It’s crucial to consider your budget and specific needs when selecting a soundproofing material.
Drywall Building Code Requirements for Separate Units
You’re under new building code requirements as soon as you add an in-law suite in Ottawa. You’ll need to stay in compliance to avoid fees and other penalties.
Why are there such strict building codes for two dwelling units?
It all has to do with fire safety. For drywall, you’re required to have 2 layers of 5/8 drywall on both sides of the ceiling/floor for your new unit.
That will provide the one-hour fire rating between both dwelling units. In other words, if a fire breaks out up top, your parents/in-laws will have an hour to evacuate before it gets to them.
That’s why the drywall needs to be so thick – with two layers of 5/8 drywall. This type of thick drywall is also called fire-resistant drywall, as they’re effective at slowing down fires.
A 5/8-inch thick panel is far less likely to sag between joists than thinner panels. That adds not only fire resistance but also extra durability. You can add a heavy surfacing material, such as popcorn texture, to further reinforce the ceiling.
You’ll want to ensure that you install this thicker drywall before constructing the rest of your granny suite. That will ensure that you’re in compliance, so you won’t have to worry about building codes.
Adding an Egress Window (Required)
Since we’re speaking of requirements for basement living spaces, an egress window is another necessity.
What’s that?
It’s a window that’s large enough for someone to escape through it in case of a fire. It’s a requirement for any basement that you intend to transition into a living space.
Besides being an emergency escape, egress windows add other benefits. They bring natural light into your basement, as well as ventilation. If your in-laws get hot and muggy, they can always open the window for some fresh air.
Once you install an egress window, you still aren’t done. Beyond the window, you’ll need an egress window well. An egress window well is a lot larger than a typical window well. It’s an excavated portion of the earth that’s typically in a half-circle or rectangle.
Its purpose is to give inhabitants a safe place to escape, protected from dirt, rocks, and moisture. If the window well is especially deep, you must have a ladder for easy access.
Here are some other requirements for an egress window:
- It has to have an unobstructed opening that’s at least 5.7 square feet.
- That same opening must be 24 inches tall and 20 inches wide (at least.)
- The bottom of the opening can’t exceed 44 inches from the floor.
- It must open and shut without the use of any tools.
You’re good to go as long as your egress window checks all these boxes.
Adding a Separate Entrance
Lastly, you’ll need to add a separate entrance, also for fire safety reasons. Whether you’re constructing an in-law suite or granny suite in Ottawa, fire safety is necessary. Building codes dictate that each dwelling unit needs its own entrance/exit.
It would be a disaster if your in-laws/parents got stuck in the basement when a fire broke out.
If the exit to the upstairs is hot/blocked, they’ll need another place to escape. Beyond an egress window, you’ll need a dedicated entrance for the dwelling unit.
You’re all set once you have 2 layers of 5/8 drywall, an egress window and well, and a separate entrance. Your new dwelling unit will be in full compliance, and your occupants will be able to escape in case of a fire.
Five-Star Basement Renovations Ottawa Families Can Rely On
The basement renovations Ottawa families require should be laid out with the basic requirements for comfortable living to make guests and in-laws feel welcome and at home.
To reach out, schedule renovations, you can fill out an online form or give us a call at (613) 727-9427.

