Reasons Why You Should Get Your Reno Done in the Winter
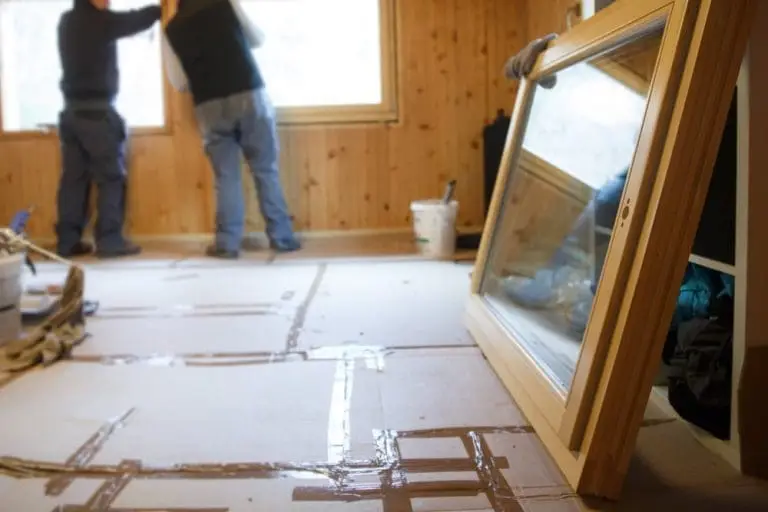
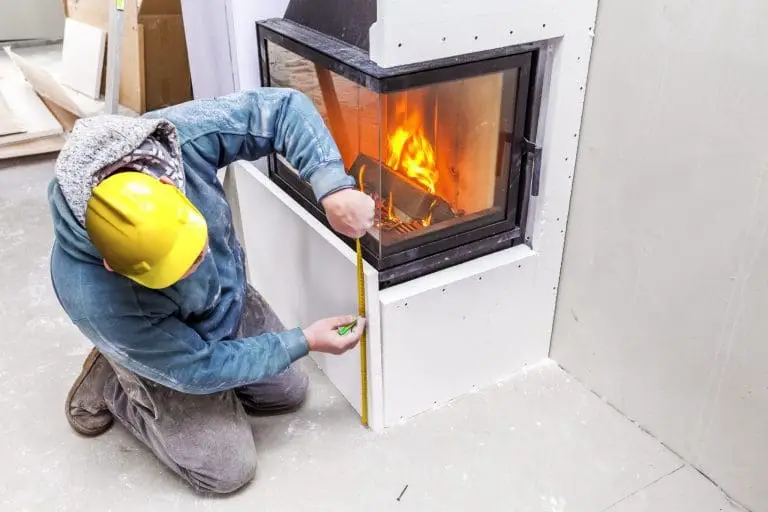
When people think of renovations, they often visualize projects and upgrades being completed during the warm and sunny months. But contrary to popular belief, winter is also a great time to get your reno work done, and provides many benefits over the spring and summer months. If you’ve been pondering when to start your next reno project, check out these reasons why you should get your reno done in the winter time. More Availability The busiest seasons for home renovations are spring and summer. This is primarily because people don’t generally associate snowy winter weather with being an appropriate time to get work done to their home. But getting your reno done in the winter has many advantages, like allowing more flexibility when it comes to availability. Come winter when there are less projects on the go, contractors can easily schedule the reno based on your timeframe as opposed to the much busier spring and summer months. Winter renovations provide a smoother, more efficient approach than the logistical challenges frequently seen during peak seasons. Without a backlog of work, contractors can give every renovation project their full focus, guaranteeing on-time completion and painstaking attention to detail. Homeowners can exhale with ease, knowing that their renovation project will go forward without any problems, free from the scheduling conflicts and delays that frequently occur during busy times of the year. Additionally, homeowners may see cost reductions during the winter months due to the decline in demand for remodeling services. In order to draw in business during the off-season, contractors might be more willing to provide competitive prices or unique incentives. Winter improvements might become even more affordable if manufacturers and suppliers offer beneficial conditions or discounts on materials. Essentially, even if spring and summer are the most popular seasons for house remodeling, it would be a mistake to ignore the benefits of winter accessibility. By embracing winter renovations, homeowners can enjoy more flexibility, more efficient scheduling, and possible cost savings, all of which contribute to a smoother and more enjoyable renovation process. Thus, as the winter chill descends and the snowflakes start to fall, think about taking advantage of this opportunity to make your house the haven you’ve always imagined. Better Room For Negotiation Many reno companies often raise their prices during the spring to take advantage of the rush in business. And since winter usually means less of a line up with demand, you can take advantage of the better deals offered throughout the slow season. Plus, the majority of owners experience better room for negotiation on not only the rates but also the materials, resulting in ample cost savings. While spring might scream “renovation rush,” winter whispers “bargain bonanza.” Reno companies often inflate prices during peak seasons, but winter’s slack demand means better deals are up for grabs. Negotiate not just rates, but also materials, and unlock ample cost savings for your dream project. It’s a win-win: contractors get work, you get a beautiful, budget-friendly home! Faster Permit Approvals During the spring time, the city permit offices get jammed with inspection and permit requests, naturally slowing down the process. Conveniently, the opposite holds true in the winter time. If you submit for permits during this time of year, you will experience much shorter wait times to get your project approved, and in turn, faster completion times as well. The relaxed pace of winter also means permit officials have more time and availability to dedicate to your application. This translates to thorough reviews and prompt responses, potentially leading to smoother approvals and fewer delays. Certain projects, like interior renovations, might even face fewer weather-related restrictions during winter, further streamlining the permit process. Discuss your project details with your contractor to explore winter-friendly options that can expedite approvals. With shorter wait times, focused attention, and potential weather benefits, you can secure the green light for your project faster, bringing your dream renovation closer to reality. Remember, early planning and clear communication with your contractor are key to ensuring a smooth permit process in any season. Avoid The Mess As most Canadians take their vacation time in winter, scheduling your home renovation to coincide with your holiday time can be the perfect way to avoid living in a chaotic reno environment. With some careful planning you can head out for your travels before the work starts and come back to your completed project. Enjoy It When It Matters Why wait to benefit from your new renovation? Having your reno completed in the winter means that you can enjoy it come spring time, when it matters. If you want to avoid living in a construction zone, paying top reno prices, or waiting for permits, you should get your reno done in the winter. To get started with your project, contact us at the RenosGroup. We can assist you with your plan and provide all the expertise you need to get the work done. If you like to learn more reasons why you should get your reno done in the winter, don’t hesitate to contact us, or give us a call at (613)727-9427